Multi Strand Necklaces With a Cone
Multiple strands can be attached to a single or multi strand clasp.
Individual strands can be attached to jump rings. (Small beads must be used near the jump rings). Attach the jump rings as required in a jewellery design.
Strands can be graduated or similar lengths.
Strands can be twisted for a different look; note that the necklace will be shorter when twisted, so allow extra length.
Tools Required:
Round Nose Pliers
Flat/Chain Nose Pliers
Side Cutters
Crimping Pliers
Tips:
Jewellery Wire
Crimps
Beads
Clasp
2 x Cones/bead caps
15cm of spool wire for wire wrapping
|

|
|
Method:
STEP 1.Cut the 15cm of spool wire in half and make a Wire Wrapped Loop in one end of each length of wire.
STEP 2. Thread each strand of the necklace on to jewellery wire and attach each strand to alternate loops with a crimp bead, using the Finishing With Crimps technique: DO NOT USE A WIRE GUARDIAN OR FRENCH WIRE/BULLION AS IT STOPS THE MESSY END FROM SLIDING RIGHT UP INSIDE THE CONE.
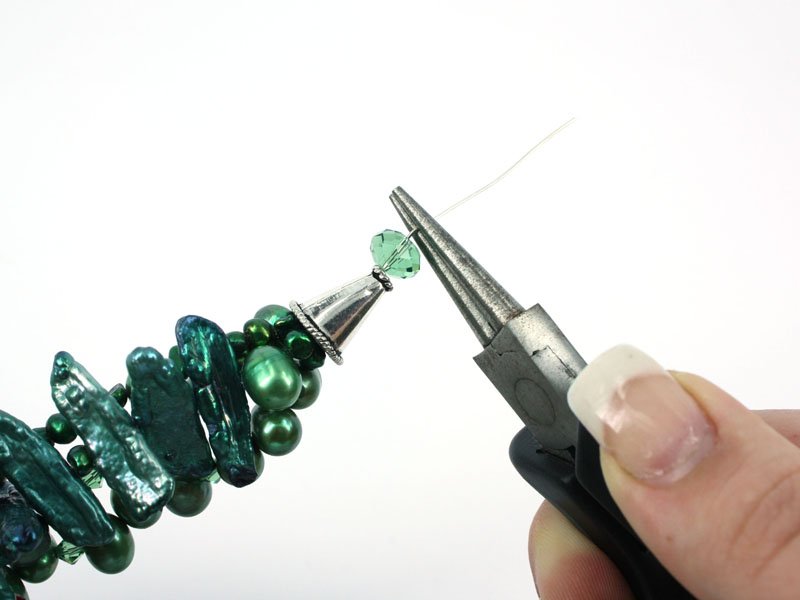
STEP 3. When every strand is complete, thread a cone, large end first onto each short length of wire.
 |
STEP 4. Thread at least one bead onto the wire after the cone; this will prevent the wire wrap you are about to make from sliding into the cone as most cones have a 2mm+ hole.
STEP 5. Attach the wire to the clasp with a wire wrapped link as tight as possible. (More wraps may have to be made around the stalk as the beads tighten inside the cap). Add extra length before the clasp with wire wrapped links if required.
|